


Create and save custom purlin punches.
Depending on how your building is engineered or fabricated you may need to use a variety of purlin punch patterns. We have many standard patterns available, but there may be times when these punches will not fit your project.
Don’t worry, it’s easy to create your own custom purlin punches with our punch editor. This will allow you to position punches where you need and then save them for future references. Once you have saved a custom punch it will always be available to you from the purlin menu.
Using the punch editor
There are two options when using the punch editor 1. creating a custom pattern from a standard pattern, or 2. creating a custom pattern from scratch. Either way you go, you’ll begin with these basic steps.
- Enter the Item ID or use the Wizard to select product type Purlin.
- Select the type of purlin you need; base angle, CEE, ZEE, channel, or eave strut.
- Select the gauge, base item and galvanized or red iron.
- Click Edit Punch
- Choose the part of the purlin you want to edit by clicking on the drawing – left or right side, web or flange.
Now choose to start from scratch, or start with a pattern.
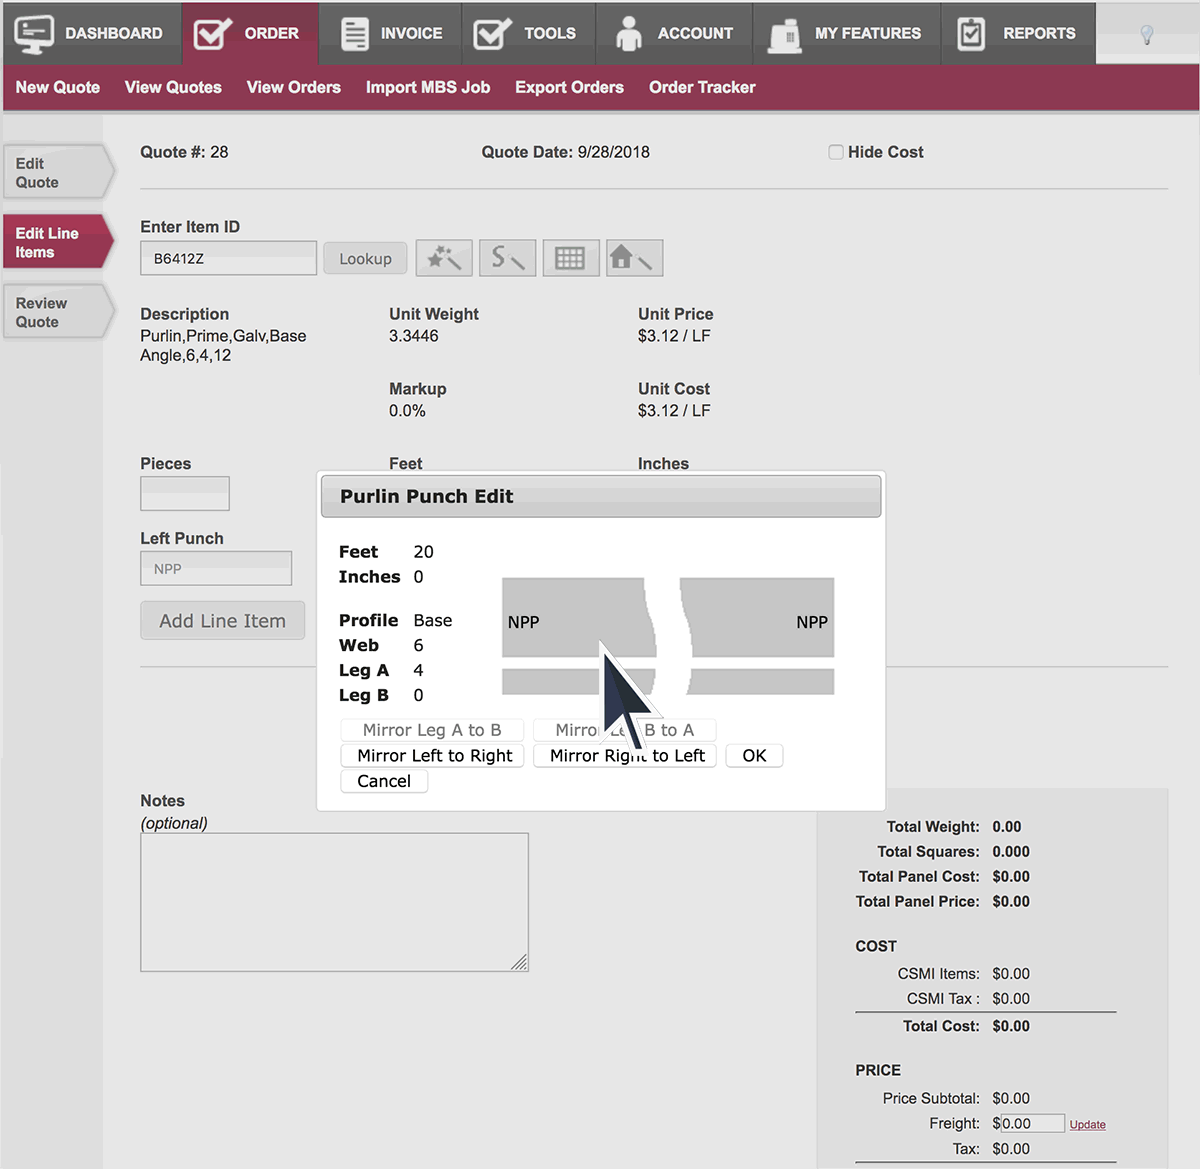
Start with a pattern
- Choose your starting pattern from the dropdown menu under Standard.
- Click on button for either Edit Leg A, Edit Web, or Edit Leg B, depending on the part you are editing.
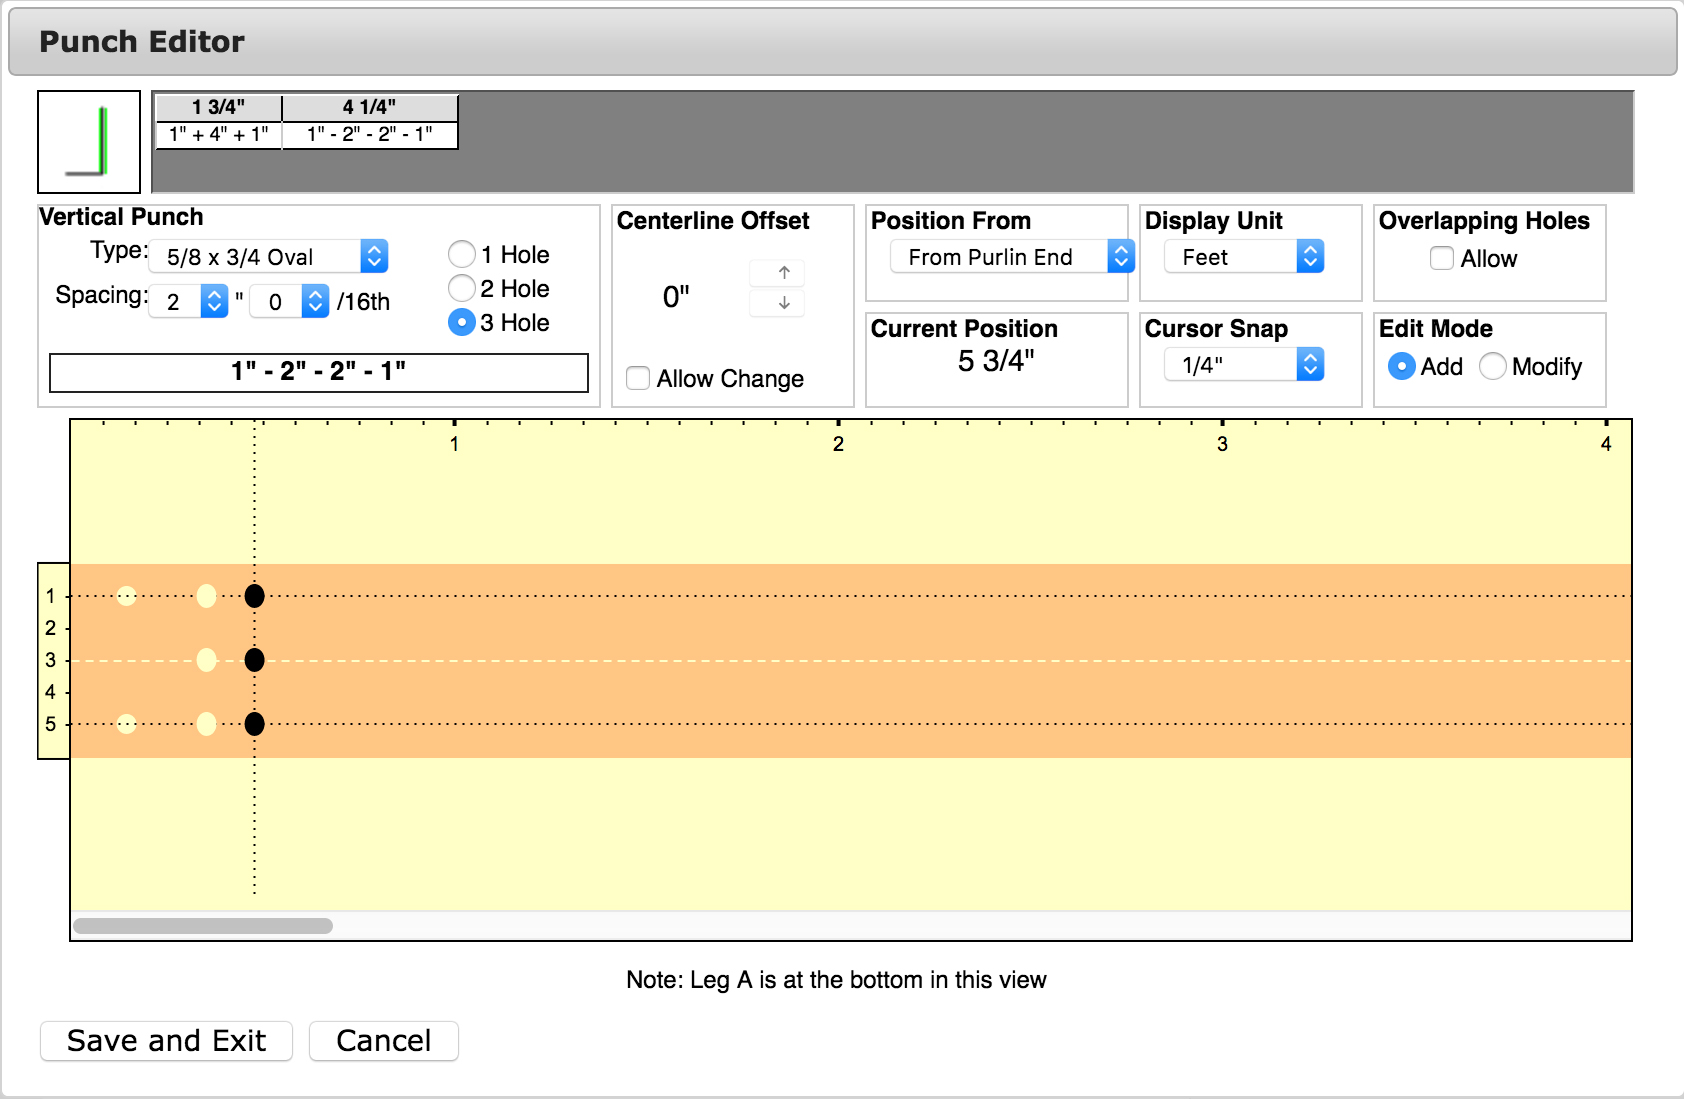
- You are now in the Punch Editor and should see a diagram of the standard punch you selected.
- You can modify the current punches, or add more punches.
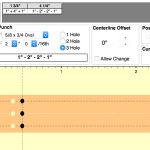
- Select the hole diameter, spacing and click on the image to place them in the appropriate places.
- Click save and exit when you are finished
Start from scratch
- Choose the left or right side
- Choose New Custom from the dropdown menu.
- Click on button for either Edit Leg A, Edit Web, or Edit Leg B, depending on the part you are editing.
- You are now in the Punch Editor and should see a diagram of the purlin with no punches.
- Select the hole diameter, spacing and click on the image to place them in the appropriate places.
- Click save and exit when you are finished
Finishing up
In either case you are now given the option to save the pattern with your own unique name. Click continue to save the custom punch. Now this unique punch pattern you created is available from your Custom dropdown menu anytime you need to use it. You can also edit it more at any time by following the same process.
One you have saved the line you can click “print purlin” to open a pdf image of the purlin you just created.


